nixos on encrypted USB stick
How to Create and update a bootable Linux USB stick, which is encrypted is quite easy and has some use cases.
- As ultimate backup
- As a holiday tool
- For schools
If you don’t care about encryption and just want to create a bootable USB stick,
you are better off creating an ISO with nixos-generators and dd.
Requirements
You need a USB stick with at least 64GB otherwise major updates might get problematic.
The USB stick, which should hold the system, will be /dev/sdb.
You can plug in the usb stick and run dmesg to find out which device we are using
Step-by-Step Guide
Here are the steps I use to create my encrypted USB sticks running NixOS.
Create partitions

We use 511 MB for the boot partition, but you might want to increase this partition, if you want to place bootable ISOs on that partition you want to boot instead of your NixOS system.
We create an EFI partition as well a 1MB MBR partition to make the stick boot on all kinds of computers.
First I delete all partitions using fdisk before starting repartitioning,
then I start with the partitioning.
parted /dev/sdb -- mklabel gpt
parted /dev/sdb -- mkpart no-fs 1MB 2MB
parted /dev/sdb -- set 1 bios_grub on
parted /dev/sdb -- mkpart ESP fat32 2MiB 512MiB
parted /dev/sdb -- set 2 boot on
parted /dev/sdb -- mkpart primary 512MiB 100%
It most likely is not necessary but to be sure, I unplug and plug the USB device again to be sure the new partition table will be used.
Encrypt and format root partition
cryptsetup luksFormat /dev/sdb3
cryptsetup luksOpen /dev/sdb3 root-enc
mkfs.ext4 -L root /dev/mapper/root-enc
This will be the password you have to type in every time you boot the USB Stick.
Format boot partition
mkfs.fat -F 32 -n boot /dev/sdb2
Prepare installation
We have to mount the created partitions to generate initial configuration files.
mount /dev/mapper/root-enc /mnt
mkdir /mnt/boot && mount /dev/sdb2 /mnt/boot
nixos-generate-config --root /mnt
Now you can update configuration.nix before installation.
You can hardware-configuration.nix edit as too,
but usually that is not necessary.
don’t forget to set your ssh key in
users.users.<name>.openssh.authorizedKeys.keysundusers.users.<name>.openssh.authorizedKeys.keyFiles
I usually have also these configurations set
environment.systemPackages = with pkgs; [
  vim wget htop silver-searcher iotop
];

# use vi shortcuts
environment.extraInit = ''
  set -o vi
  EDITOR=vim
'';
These options have to be added to make it bootable and to start it with qemu-kvm (See Update stick using qemu-kvm)
boot.loader.grub.enable = true;
boot.loader.grub.efiSupport = true;
boot.loader.grub.device = "/dev/sdb"; # todo : change me once the system booted
boot.loader.grub.efiInstallAsRemovable = true;
boot.tmpOnTmpfs = true;
You most likely have to disable these parameters
boot.loader.systemd-boot.enable = false;
boot.loader.efi.canTouchEfiVariables = false;
Install system
nixos-install --root /mnt
Unmount everything
You most likely don’t want to restart your host machine, so you have to unmount everything manually
umount /mnt/boot
umount /mnt
cryptsetup luksClose /dev/mapper/root-enc
You are able to plug the USB stick in a computer now and boot from it and you root partition is encrypted.
Update stick using qemu-kvm
To run frequent updates, it might be a hassle to boot a dedicated machine to access these updates.
This is why I use qemu to start the machine and update the machine via colmena
which my preferred NixOS provisioning system. Of course your favorite provisioning tool will work as well.

To run qemu-kvm on you machine, you need these options in your host configuration.nix.
virtualisation.libvirtd.enable = true;
users.users.mainUser.extraGroups = [ "libvirtd" ];
environment.systemPackages = [
  pkgs.qemu_kvm
  pkgs.virt-manager
];
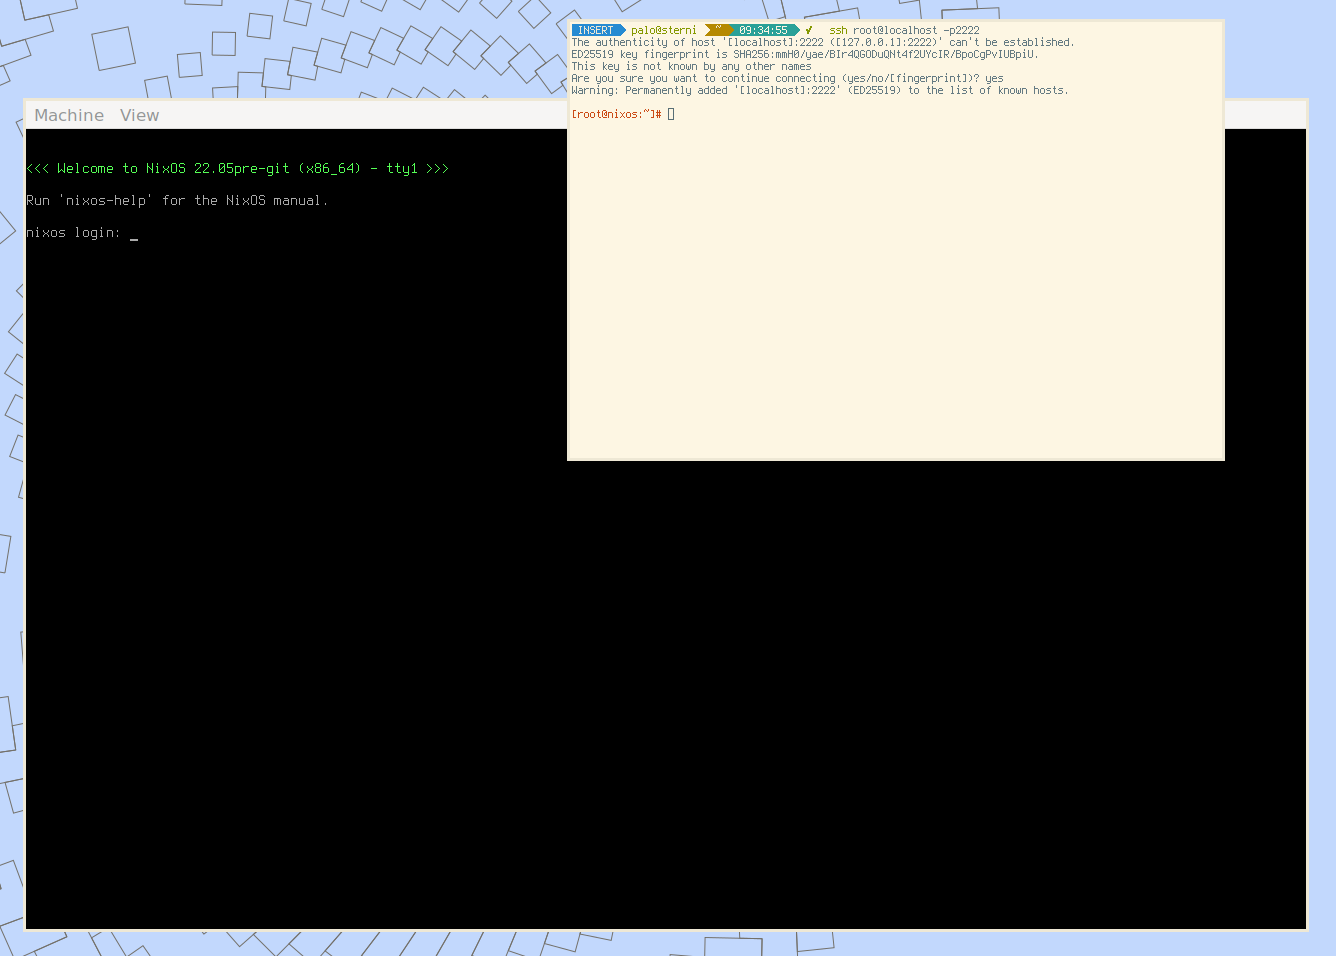
To start the machine you simply have to run this command:
sudo qemu-kvm \
  -m 4G \
  -drive file=/dev/sdb,format=raw,index=0,media=disk \
  -net user,hostfwd=tcp:127.0.0.1:2222-:22 \
  -net nic
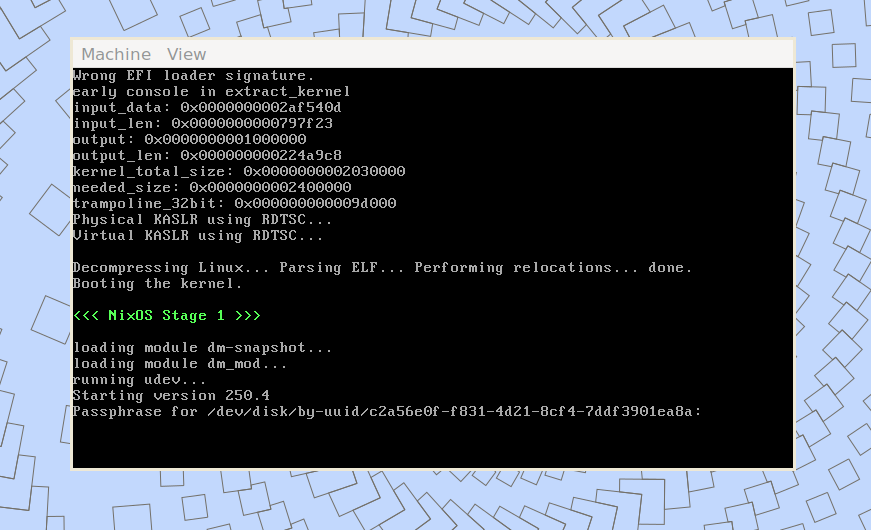
Once you unlocked the root partition you should be able to access the guest system using
ssh root@localhost -p2222